Showing posts with label model. Show all posts

Thursday, January 26, 2012

Some hobby progress...

Lately, the weather doesn't help with the painting, but here's some of the progress the last few weeks. Since the weather has been crappy for airbrushing and spray cans (that and I'm out of Tamiya Flat White and hobby shops are out. And I am don't like to mix paints ever since the "incident"). Since the tekkaman blade resin kit had to be put on the back burner, I decided to work on a simple kit.

Thats where the Digimon Reboot- Omegamon kit came in. I snipped and cleaned parts long ago so that made the prep and assembly a breeze. Still, this kit screams to have some metallic paint work done to it and me being me, I couldn't resist ^^;

I eventually gave in and started using part of my bathroom as a spray booth since it has a fairly powerful fan to suck up all the nasty fumes and such.( clean up still sucked though!!!) I eventually went back to work on the resin kit as well, but still couldn't work on the whites so I ended up working on some of the other metallic colors since I was in a "metallic mood."


Hopefully, the weather will clear up soon( and my local shops will restock paints) so I can get back to finishing up these kits. Jeez, I've had the Tekkaman Blade kit for since last year and I've been working on it on and off for a year! Talk about snail speeds, BUT. I. FINISH. THIS.


Thursday, July 7, 2011

Progression is progressive.

So despite the incredibly hot and humid weather, I really really really wanted to work on the resin kit and the next step was to start painting-SO IMPATIENT. While the parts did gets painted, the environment was killer on the spray cans; that and I was crazy intent on being as careful as i could be since I really didn't want any hiccups to go fix , which meant spray strokes.Lots of short spray strokes that probably didn't really paint as much as it made a mist onto the parts. It worked, but the killer part would be the environment meant I wasted more paint and more cans than I would've liked-BOO. That's what I get for being impatient.

I ended up using metallic black on the parts needing black instead of matte black, but I'm fairly pleased with the results so far. Of the two colors, the matte white gave so much more hell than the metallic black. White paint is already(or can be) really hard to paint with due to the properties and consistences most white paint have.(thats why when there are awful paintful apps on a toy that should have lots of white detail, bad white paint is sometimes one of the culprits,coughs*hasbro,coughs*marvel 3.75in figures,coughs*) I ended up using both cans completely,but the metallic black at least finished its job completely. Based on the work done with the matte white, I'm gonna need 1 or 2 more cans of matte white.LAME SAUCE.

So far, so good. Everything is looking smooth and painting is on tracks. No hiccups.yet.
These parts are going to need more matte white,ugh. White paint is such a pain!!!
ah, but at least metallic black never seems to give me problems. It usually always works great. One of my favorite paints to use ^^;

In other hobby work, I've been working on a custom effect part for my revoltech Jehuty figure. Namely, the burst attack.(I'd love a vector cannon, but that might require more work than I'd like right now) I've been recording most of the work on my youtube vids. If you'd like to catch any progress more upclose, check out the progress here. It shows the beginning, the ideas, and the change ups.so far.

Originally, I thought about using foil as a means to give more of a shiny gem-like effect to the burst ball. Didn't turn out like I'd like it to though...

Here's a test shot of the goal in mind. Yup, foil isn't workin for me like I'd hope. Time to try something else.
Here's another test shot of the goal in mind, though this is just a hollowed burst. Little plain, isn't it?
AND THEN, CHANGE UP. I scraped the foil and messed around with clear materials to make use of light sources instead. Sorta like light piping, I guess.
I like this a whole lot more than the foil...

Unfortunately, the material I used for that effect was nothing but clear hair gel (experimenting brings about weird trials). I'm currently working with clear resin and diorama water materials. Progress is slower than snail mail. That's it for updates now. More progress later.

Sunday, June 26, 2011

Other hobby progress

Aside from my tekkaman resin kit work, I've been trying to juggle more kits at once. I figured this would allow me to accomplish more in a short time since I'm trying to knock some kits outta that mountain I call my backlog. Plus, I could really use the space as I still have plenty of new things coming in all the time, at least til september it seems. While I'm working on the tekkaman blade resin kit project, I've also been working on my unicorn and sinanju head bases. I still have some painting to go, but I got some quick builds and sprays done at least.
The other project I started working on is my custom Burst attack effect part for my awesome ZOE jehuty Revoltech figure^^
I got the basic design done and a first green coat done. I still need to start the inner resin texturing on the inside to give the "particle charging" look, then a few more different coats to give a cool gradient effect.

And on another note, I just read the Reycal Oricalcum manga. Twas pretty cool. I ended up trying to hunt merchandise down for it. Sadly, there doesn't seem to be much at all for it. I did at least buy the revoltech of reycal. Its a pretty cool little figure and it really goes for the whole mecha musume vibe, which is cool because I recently watch anime series, Infinite Stratos and really enjoyed the designs alot.
Aside from that, I also picked up another Jehuty revoltech figure so I can do something I've been wanting to do since I saw this figure-Dual blades!
Really liking the metallic paint scheme on this figure.
Thats it for now; More progress later on in a few days.
I'm diggin the look here.

Tekkaman Blade Resin WIP - 2

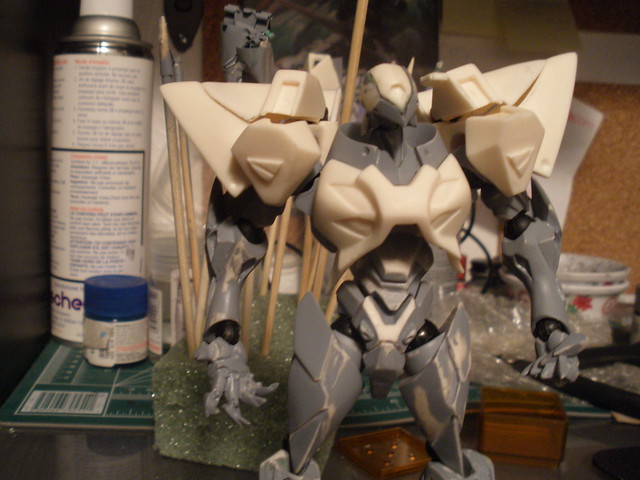
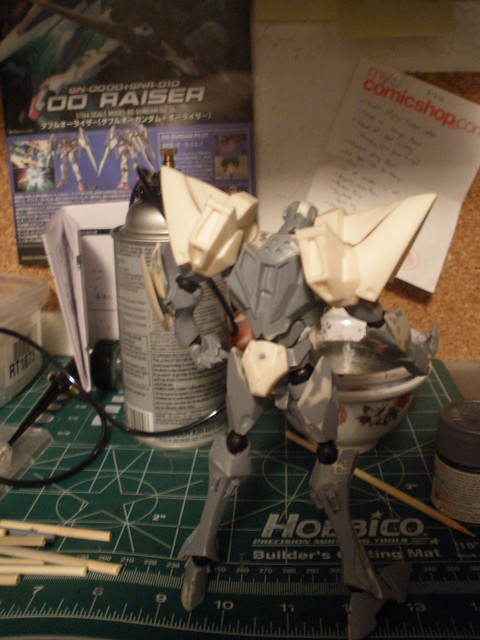
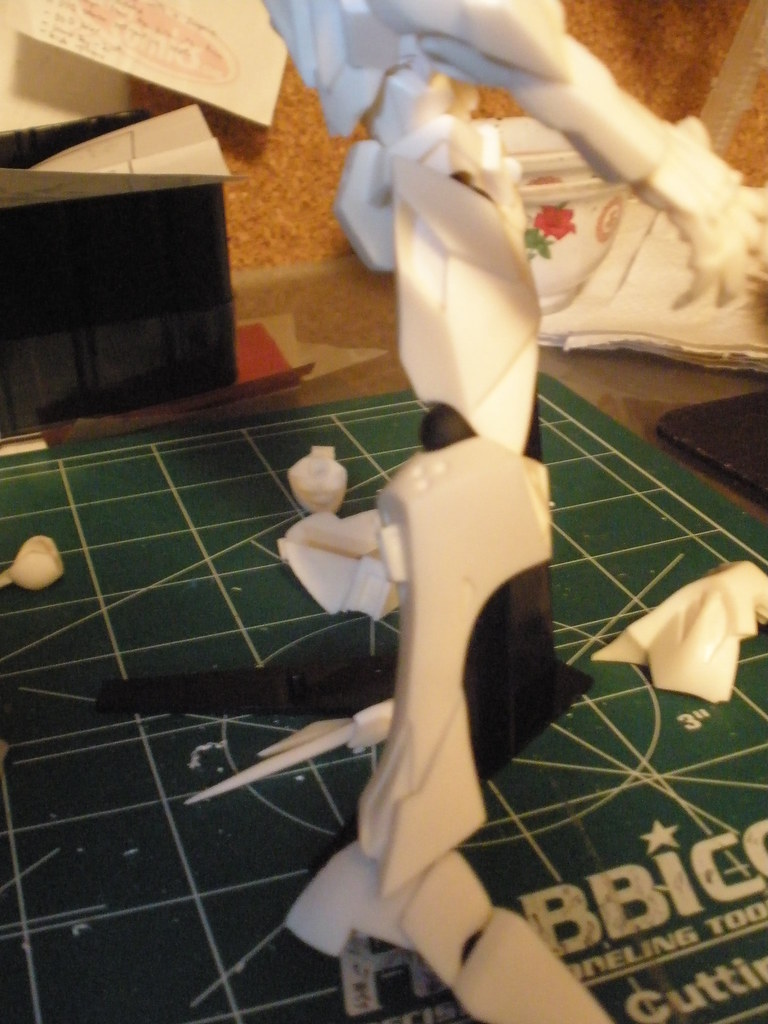
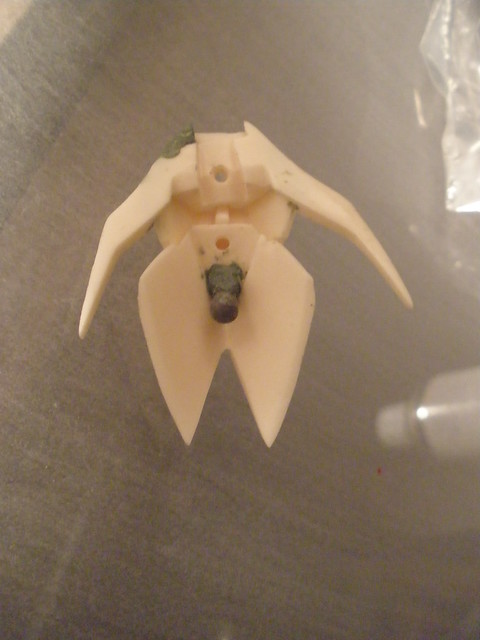
I haven't really gave this kit the much needed attention it deserves, so I recently remedied that. I finally got around to sanding all the parts I've primed so far and did some putty fill-in as well. Later on, I also check out some of the part-swap areas and worked on the custom joints for those pieces as well. Unfortunately, I don't have a lot of room to do a full body test fit for everything(plus I have tons of tiny frickin pieces to work with as well), but I'm currently working on the big parts and the main body. all the other parts are really just accent pieces to do later.


Also, if I haven't mentioned it enough, this kit's parts separation is amazing. Maybe, too amazing...nah. I just had a small hiccup for a second. This kit's been separated for easy paint app work, for every separate piece. I thought for a moment that I found something I'd have to tape down or possibly hand paint. Nope, not the case. Turns out the shoulder armor pieces were done correctly. My own model kit totally punked me,heh.


After sanding and joint work, I did test fit #2. Everything seems to be doing well. So far, so good. After this-another priming run, then its off to start the first actual paint treatments. When I'm done with that,tighten joints and general re-enforcement. Hopefully, the next update for this won't be another 4 months,heh ^^;


Tuesday, February 8, 2011

Tekkaman Blade Resin WIP - 1

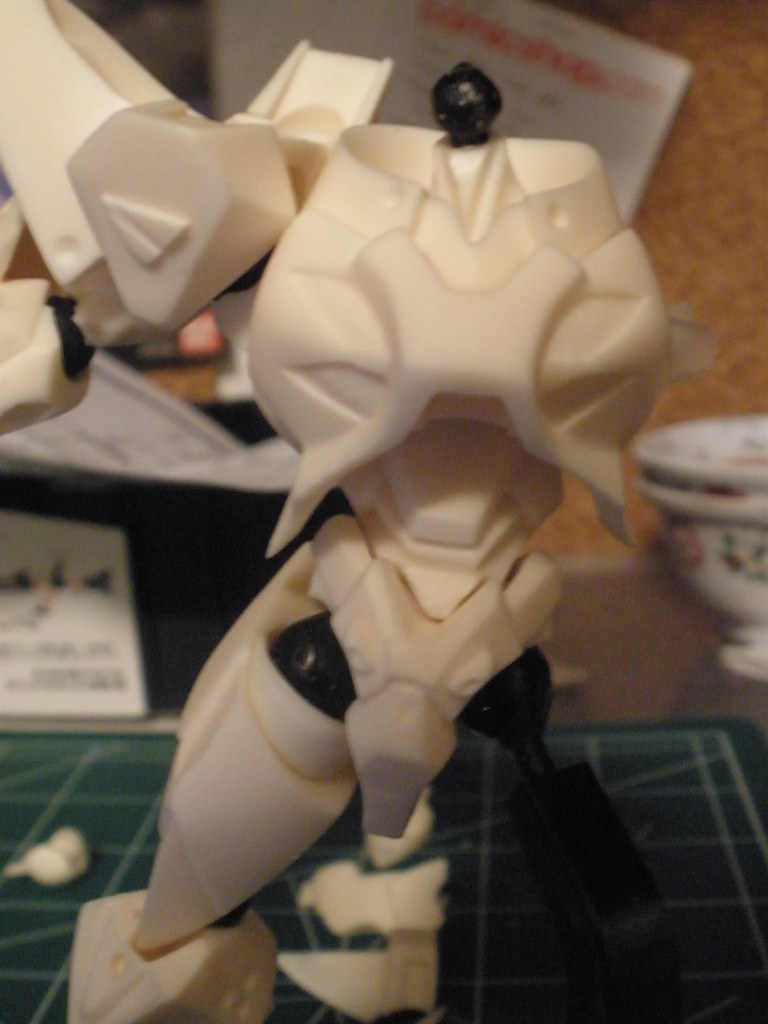
So I totally couldn't wait and started work on this on Monday. My poor keroberos revoltech had to sacrifice his joints so that blade could get jointed. Its alright though, this is just til the order of revoltech joints arrive via mail. Man, Hand drilling all those holes were a real pain. Since the original design called for basic ball joints and ball pegs, some pre-planning on how to make everything fit just right had to be done. Nice thing to be noted, is all the parts aren't just separated for detailing, but also for painting. All the red pieces are separate so when it was casted, it could've be done in color! There's a few places here and there needing putty so I'll have to pick up some green stuff at work tomorrow.

Aside from that, This has been a very rewarding build so far. I like the previous incarnations of Tekkaman Blade's figures and model kits, but most of them have all been following the more streamlined "suit" look from the first series. This design probably fits some of the designs from the end of the first series and the whole second series(OVA). It does what TF Classics did for the original G1 TF designs- it maintains the aesthetic charms and themes and adds to it. With wicked mecha style: long imposing proportions,harsh & sharp lines/angles, and intense details building on the basic look. The Armor plus figure is nice, but if this was a figure with that kinda price tag, I would've bought it without a second thought.

I'm slightly intimidated to paint this actually. I'm worried the paint job won't do this design justice. Still gonna try, but I am worried slightly. Unfortunately, I'm outta spare black revoltech joints so this will have to do til the package arrives. I even paid for EMS this time to get it here faster.Crazy, right?? Thats the AWESOME that is Tekkaman Blade. More WIP updates later!


Nothing Glued yet, but things are starting to come together already.

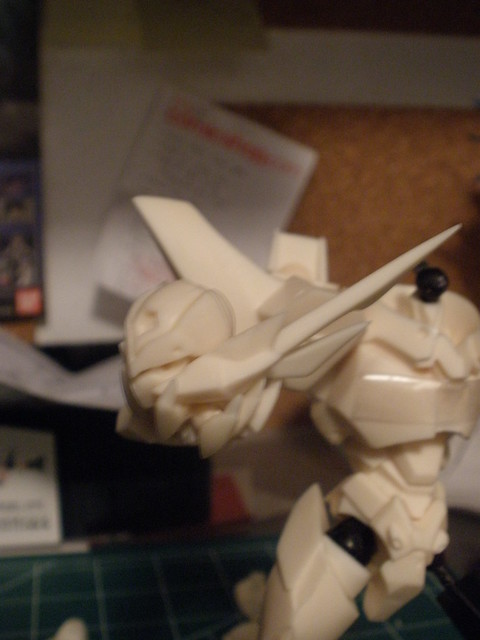
Head sculpt looks great. Lots of small pieces,too.
The iconic torso design. Putting this together made me think on how the joint placement and what to inprove on an actual revoltech tekkaman. If they're making revoltech Muv Luv and Z.O.E. , there's hope, right???
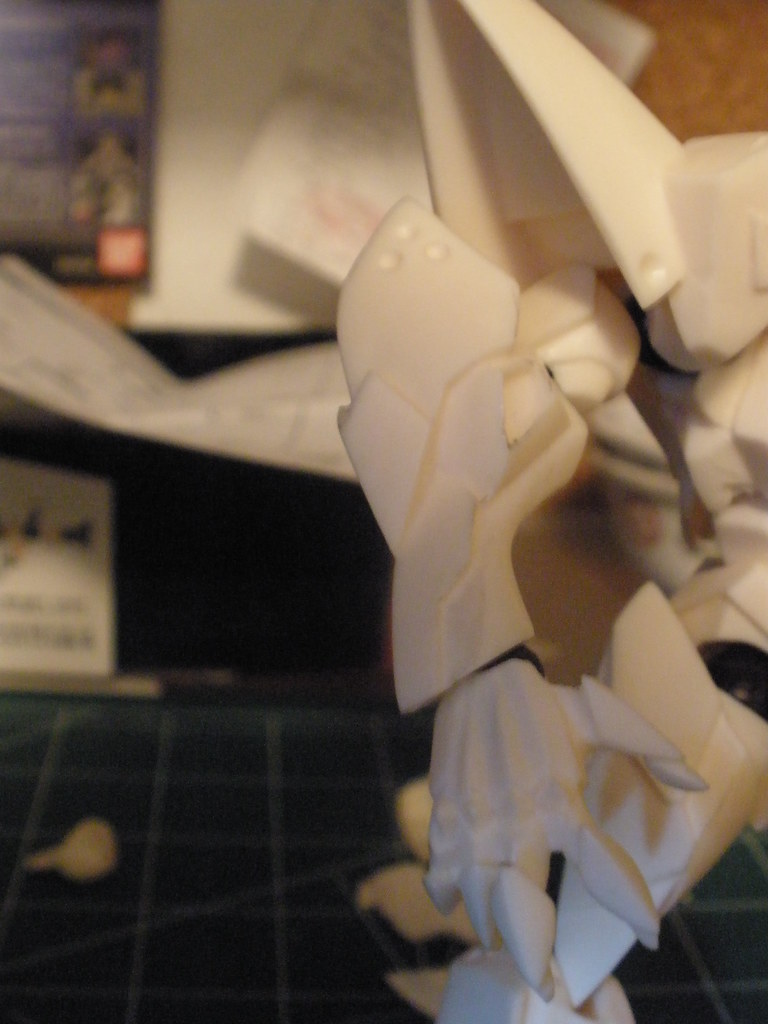
Look at the details! Frickin Awesome. The normal design is just basic panel lines.Bunk that, Raised cool sculpt FTW!
Mecha proportions indeed. Fit a human leg in that?Psssh...

Since I haven't started actually gluing parts since nothing's painted yet, some parts were just taped temporarily or placed carefully into position. Having some trouble with that breastplate, blade?
Had enough joints to pre-joint another arm. Looks like it'll have to rest on that stand til more parts come...


Its really starting to come together. I can't wait for it to get done. I'm so geekgasming over this. So cool.

Followers