So I received a package from amiami yesterday. I haven't had anything in the mail for me in a while. That's always a nice thing after a long day at work- goodies in the mail ^^
Its my highly anticipated Fate/Stay Night - Saber model kit by Kotobukiya, and with good reason. I didn't originally plan on doing a post,video, or anything for this unboxing, but after cracking open the box and skimming through it a bit- totally had to do it. Its not often I see a kit this thought out and modeler friendly.(Well, I say that now based on current impressions, but I still haven't actuallly built it yet ^^; Don't let me down!)
Like many Kotobukiya model kits of late, a simple but nice picture of featured product-in this case, Saber about to lay waste to some unfortunate servant with her trusty excalibur.

Cracking the box open, nothing super eye catching yet...
Then we see the water slide decals. Yup, water slides. How very "pro" of you, Koto. Wait, nevermind that, those are full piece decals for the Avalon Sheath! HOLY... That's actually pretty cool. If I had to have some decal cover a piece that had all these curves and such, I'd rather have a dry transfer or water slide over a lame folding sticker any day. Good show, Koto ^.^!!
Manual is simple, but effective. Pretty standard-featured shots(above), decal guide, color guide, and the step by step instructions.

I was fairly pleased with the decals. Now- MY MIND IS BLOWN...Kotobukiya has been known to set some pieces up pre-painted, but this. THIS, is all kinds of amazing. The paint apps on this sheath is immaculate. Great details. AND, its not connected to a runner so it just needs to be assembled. The decals seem unnecessary now unless you plan on painting or maybe a mistake is made. I still appreciate both efforts regardless. Moving on...
Here, we see some armor pieces, and more pre-painted pieces. The armor pieces look decent, but I'm seeing some nasty mold flash on these pieces. It looks like I may be doing a quick paint treatment on the armor pieces. Maybe silver leaf or some buffing metallizer steel. The pieces look big enough to make easy work of the buffing.Somthing to think on...
The blue bits for the collar already have the gold trim on them already. Not as amazing as the sheath and upon close expection, the pieces could use another layer of gold here and there. A quick out of the box build though, seems like it would look great so far. Too bad I'm such a stickler for lame tiny details,heh. The breastplate here has a nicely painted saber servant rune on it. Too bad the piece its painted on has some bad mold flash.LAME SAUCE. But, this is why having those water slides is awesome. I can paint all the pieces and use the decals instead of having to paint everything back on-yay!
More shots of the armor pieces up close. There's some nice details here. A good metallic paint scheme will definitely make the details "pop" more.
AHH, MOLD Flash,ahhH!!! I'll deal with YOU later...
Tons more pre-painted pieces. The dress parts all have the necessary trims on them and are all separate. Like the hoi hoi san kits(also by Kotobukiya), there's pre-painted face parts for different facial expressions. And if you'd rather make your own, you can paint over the pieces and use the provided face expressions decals in whatever fashion you'd like.
Personally, I think I'm fine with the provided parts as they are. I may gloss coat the eye parts to give a wet shiny look. I haven't decided if I wanna paint over the actual face plates with maybe a two tone scheme to highlight skin tones or not. More to think on...(man, those face plates without eyes are kinda freaky,bwah, shudders a little*)
And here we have some plain parts that make up the very few poly caps this kit contains and some of the appendages.

Yay, more pre-painted parts! Excalibur's looking very nice. Both of them,heh.

Here's a closer look to catch some more of the details.

This is the runner containing more parts for limbs, and the under dressing on Saber. It looks like an offset white so I most likely will spray some matte white over all the pieces.

And of course, Saber wouldn't be Saber without her battle ready bun style hair. Nothing to write home about, but I see the ahoge and side bangs are ball-jointed so it has articulated hair similar to the hoi hoi san kits. I'm thinking two tone highlight for the hair. blond and maybe some auburn brown to really give the face character(considering the head is a big focus point on this kit, seems like the thing to do.)
It's pretty interesting how the base style model construction of the hoi hoi san kits really lended to the design style of this kit. I was really expecting to do some extensive trim work for this kit, so I was extremely and pleasantly surprised at how much work kotobukiya put into this kit. I'd be very interested in seeing what other characters could be made using this model base. A black rock shooter full action kit would be awesome! Anyways, moving on...
So all those runners to make a full action "D-Style"( I say d-style since the proportions aren't traditional chibi style and kotobukiya also makes a model line dubbed "D-style" with these kind of proportions. )Saber model kit. Not bad. And it seems fairly modeler friendly so if you're not too picky, you could do a straight build and still get a pretty nice looking saber. This'll be a nice addition to add next to my saber nendo. Too bad I can't start working on it right now since there's other kits needing to be completed first. CURSE YOU, Backlog Mountain!!



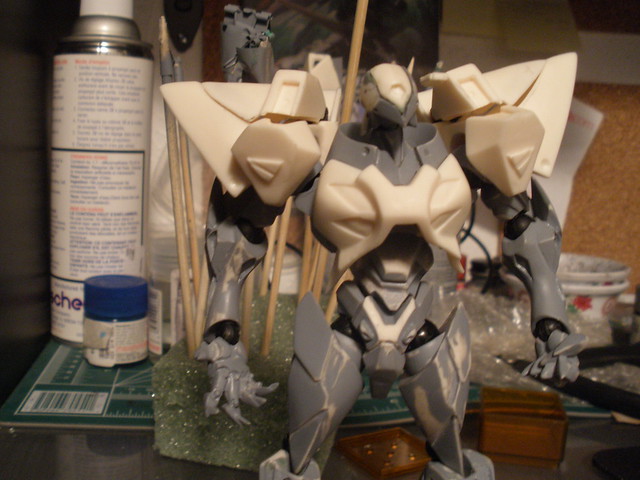
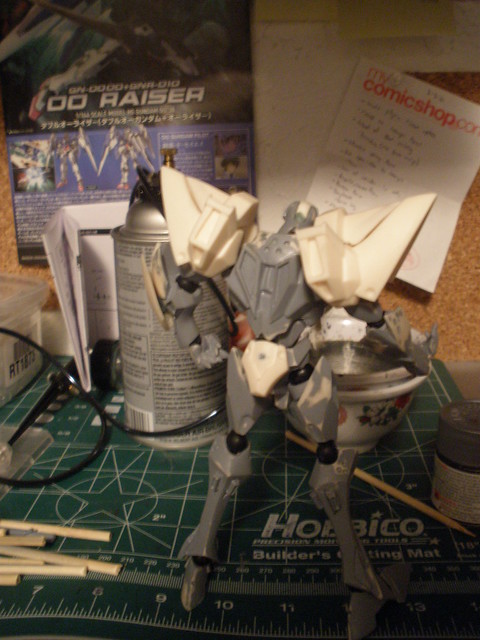
 Hopefully, the weather will clear up soon( and my local shops will restock paints) so I can get back to finishing up these kits. Jeez, I've had the Tekkaman Blade kit for since last year and I've been working on it on and off for a year! Talk about snail speeds, BUT. I. FINISH. THIS.


 Hopefully, the weather will clear up soon( and my local shops will restock paints) so I can get back to finishing up these kits. Jeez, I've had the Tekkaman Blade kit for since last year and I've been working on it on and off for a year! Talk about snail speeds, BUT. I. FINISH. THIS.