Showing posts with label tekkaman blade. Show all posts

Thursday, January 26, 2012

Some hobby progress...

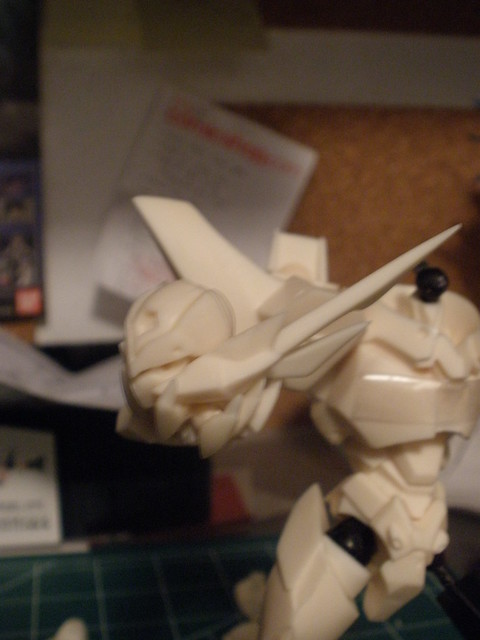
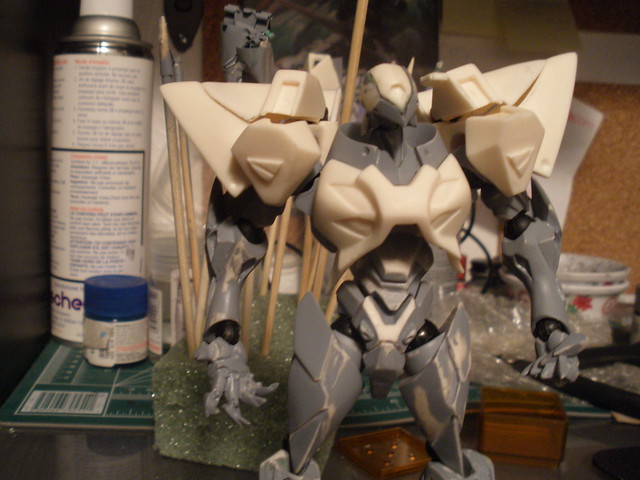
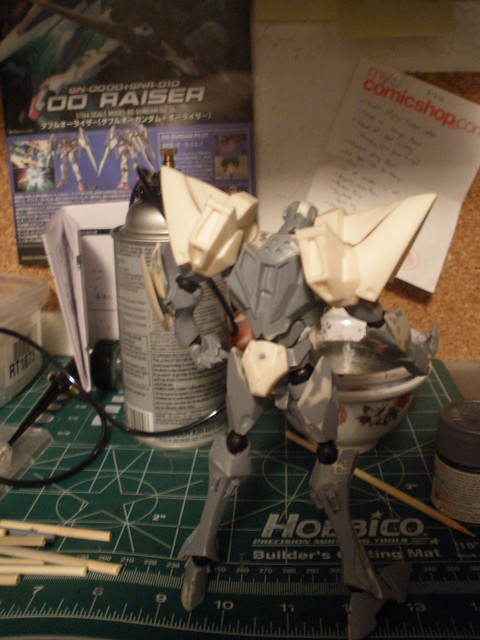
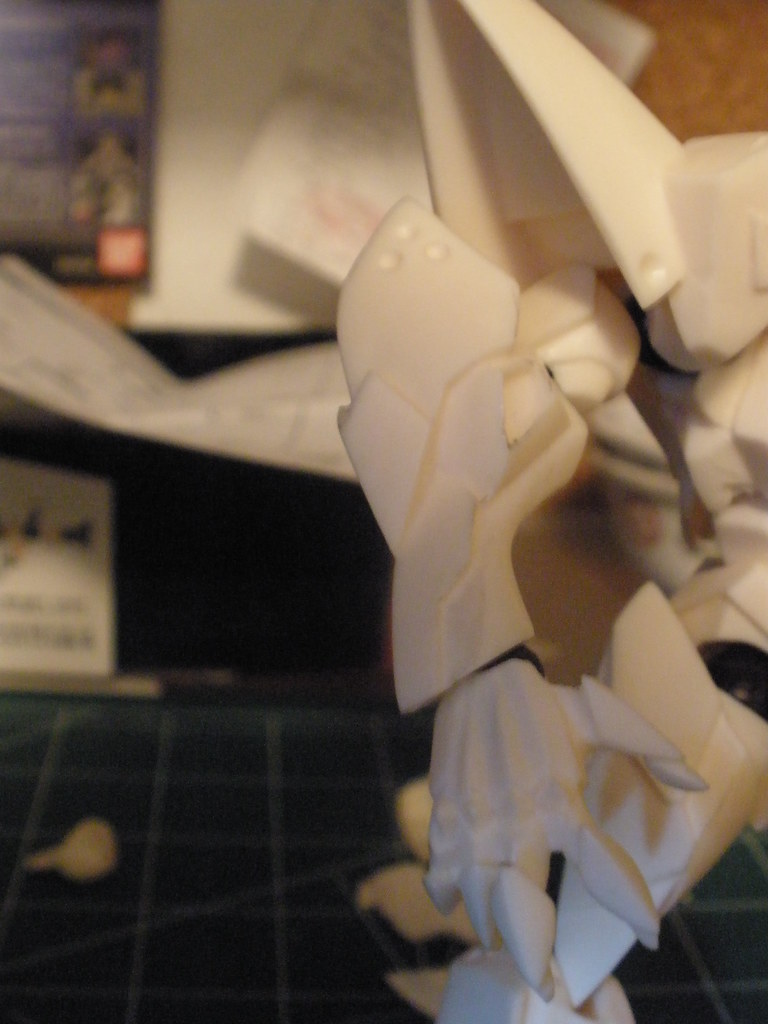
Lately, the weather doesn't help with the painting, but here's some of the progress the last few weeks. Since the weather has been crappy for airbrushing and spray cans (that and I'm out of Tamiya Flat White and hobby shops are out. And I am don't like to mix paints ever since the "incident"). Since the tekkaman blade resin kit had to be put on the back burner, I decided to work on a simple kit.

Thats where the Digimon Reboot- Omegamon kit came in. I snipped and cleaned parts long ago so that made the prep and assembly a breeze. Still, this kit screams to have some metallic paint work done to it and me being me, I couldn't resist ^^;

I eventually gave in and started using part of my bathroom as a spray booth since it has a fairly powerful fan to suck up all the nasty fumes and such.( clean up still sucked though!!!) I eventually went back to work on the resin kit as well, but still couldn't work on the whites so I ended up working on some of the other metallic colors since I was in a "metallic mood."


Hopefully, the weather will clear up soon( and my local shops will restock paints) so I can get back to finishing up these kits. Jeez, I've had the Tekkaman Blade kit for since last year and I've been working on it on and off for a year! Talk about snail speeds, BUT. I. FINISH. THIS.


Sunday, October 9, 2011

More Tekkaman awesomeness!!! and WIP updates.

So its about 2am and I'm still alittle wired so can't sleep just yet,so.... I'll update like I've been meaning to do lately. Unfortunately, I don't have access to my WIP pics. Not home, so we'll have to make do with a quick written lay down. til next time. Finally got around to working on the tekkaman resin kit again. Its starting to really come together. I got around to painting a few areas black, not that its needed. Its namely for all those places that aren't really too noticeable like the inside of shoulder armor, the inside of the collar,etc. I've also got around to adding the ghost gray to help break up the white and also hopefully, accentuate the details so it won't be just panel lining.

With that being said, since I can't post pics this time-I'll post pics of something related. All this time while working on the resin kit( and with no reference or readable instructions), I've also been looking online every once in a while for more pics of the kit I've been working on. Maybe one that someone else has finished working on, anything. Eventually, I found a few blogs here and there. But, I also stumbled on the next kits I'd like to get and work on after this one. First up is a Tekkaman Blastor kit. Its also a full action kit and looking at some of the design styles, it may be from the same sculptor or design team as the kit I"m working on. If so, then- AWESOME. Aside from my own mistakes, I'm really enjoying the build and the model itself of Tekkaman blade. Of course, I plan to put in revoltech joints of course,heh. You can find the model kit sold HERE.
I like the original base design of blade and blastor, but I totally love the style given to the design with these kits!


And it totally looks great next to blade and it also looks in scale as well.AWESOME.


I bet the color separation on this kit will be amazing as well.
Look at that awesomeness. The only thing that could make this more epic is if Toshiyuki Morikawa's voice played when you put it in this pose. VOL-TEKKA!!!!!

This.will.be.MINE.

The next kit is also a tekkaman blade resin kit, but with a twist. Its not like these full action kits where the design is just more stylized. Its practically re-visualized. Pretty cool stuff. The aesthetics is less on the anime-esque super robot proportions and more on the hyper detailed and "real armor" style. That said, lets take a look at it...
Whoa. Definitely gonna need lots of paint work. Not a lot of color separation. This is gonna need lots and lots of layers and taping.
That said, I can't complain about the intended final product and effect. Its pretty impressive. It reminds me of the Casshern Sins live action and makes me wonder what would a live action Tekkaman blade film look life? Very cool indeed.
I really dig the look of this kit, but I'll still be getting tekkaman blastor before this. But, right after- getting this. You can find this kit HERE.

That's it for now. I'll post WIP pics along with more progress in a couple of days.Til things, see you guys then.

P.S.- If you have google +, you should add me to your circle HERE. If you don't have one yet, check it out. Its pretty cool and isn't as bogged down by ads or spam as facebook is these days. And you can organize your contacts in circles( friends, acquaintances, family,etc.)Pretty useful and cool stuff.

Thursday, September 22, 2011

New Tekkaman Blade FIgma PICS


Gotta say, The new color images of blade look really great. I'm starting to get excited over these eventually coming out. Now if I can just finish my resin kit before the figma comes out,heh.Sometime this year would be awesome ^^;


Tekkaman blade figma images sourced from Toysdaily Forums

Thursday, July 7, 2011

Progression is progressive.

So despite the incredibly hot and humid weather, I really really really wanted to work on the resin kit and the next step was to start painting-SO IMPATIENT. While the parts did gets painted, the environment was killer on the spray cans; that and I was crazy intent on being as careful as i could be since I really didn't want any hiccups to go fix , which meant spray strokes.Lots of short spray strokes that probably didn't really paint as much as it made a mist onto the parts. It worked, but the killer part would be the environment meant I wasted more paint and more cans than I would've liked-BOO. That's what I get for being impatient.

I ended up using metallic black on the parts needing black instead of matte black, but I'm fairly pleased with the results so far. Of the two colors, the matte white gave so much more hell than the metallic black. White paint is already(or can be) really hard to paint with due to the properties and consistences most white paint have.(thats why when there are awful paintful apps on a toy that should have lots of white detail, bad white paint is sometimes one of the culprits,coughs*hasbro,coughs*marvel 3.75in figures,coughs*) I ended up using both cans completely,but the metallic black at least finished its job completely. Based on the work done with the matte white, I'm gonna need 1 or 2 more cans of matte white.LAME SAUCE.

So far, so good. Everything is looking smooth and painting is on tracks. No hiccups.yet.
These parts are going to need more matte white,ugh. White paint is such a pain!!!
ah, but at least metallic black never seems to give me problems. It usually always works great. One of my favorite paints to use ^^;

In other hobby work, I've been working on a custom effect part for my revoltech Jehuty figure. Namely, the burst attack.(I'd love a vector cannon, but that might require more work than I'd like right now) I've been recording most of the work on my youtube vids. If you'd like to catch any progress more upclose, check out the progress here. It shows the beginning, the ideas, and the change ups.so far.

Originally, I thought about using foil as a means to give more of a shiny gem-like effect to the burst ball. Didn't turn out like I'd like it to though...

Here's a test shot of the goal in mind. Yup, foil isn't workin for me like I'd hope. Time to try something else.
Here's another test shot of the goal in mind, though this is just a hollowed burst. Little plain, isn't it?
AND THEN, CHANGE UP. I scraped the foil and messed around with clear materials to make use of light sources instead. Sorta like light piping, I guess.
I like this a whole lot more than the foil...

Unfortunately, the material I used for that effect was nothing but clear hair gel (experimenting brings about weird trials). I'm currently working with clear resin and diorama water materials. Progress is slower than snail mail. That's it for updates now. More progress later.

Sunday, June 26, 2011

Tekkaman Blade Resin WIP - 2

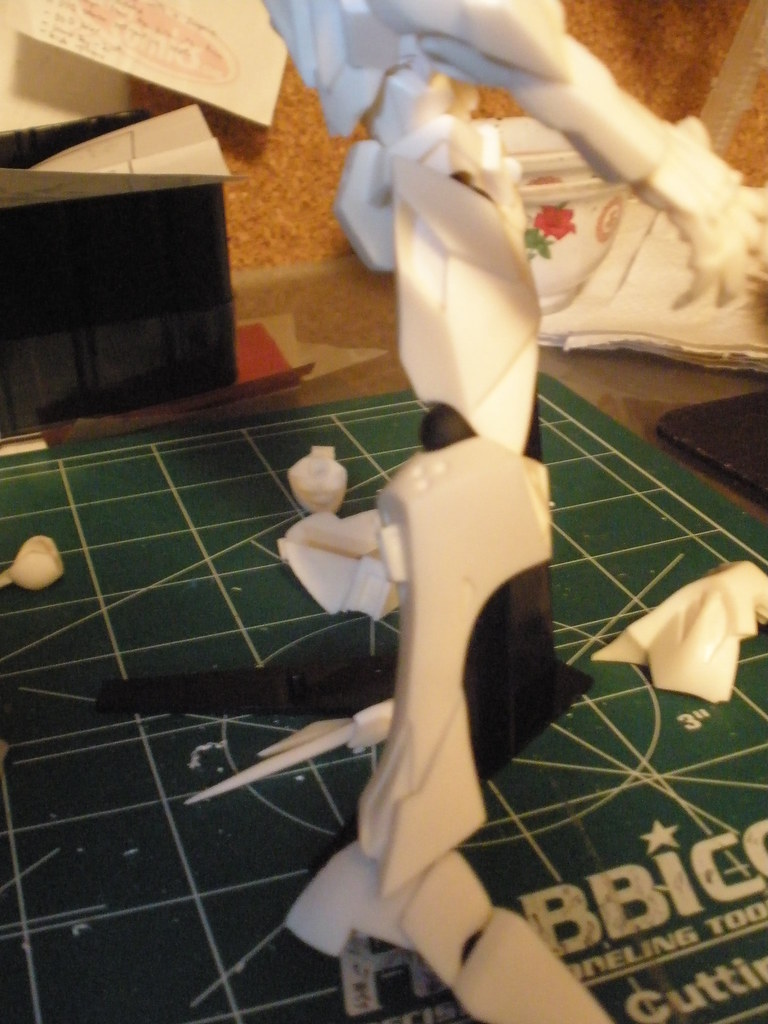
I haven't really gave this kit the much needed attention it deserves, so I recently remedied that. I finally got around to sanding all the parts I've primed so far and did some putty fill-in as well. Later on, I also check out some of the part-swap areas and worked on the custom joints for those pieces as well. Unfortunately, I don't have a lot of room to do a full body test fit for everything(plus I have tons of tiny frickin pieces to work with as well), but I'm currently working on the big parts and the main body. all the other parts are really just accent pieces to do later.


Also, if I haven't mentioned it enough, this kit's parts separation is amazing. Maybe, too amazing...nah. I just had a small hiccup for a second. This kit's been separated for easy paint app work, for every separate piece. I thought for a moment that I found something I'd have to tape down or possibly hand paint. Nope, not the case. Turns out the shoulder armor pieces were done correctly. My own model kit totally punked me,heh.


After sanding and joint work, I did test fit #2. Everything seems to be doing well. So far, so good. After this-another priming run, then its off to start the first actual paint treatments. When I'm done with that,tighten joints and general re-enforcement. Hopefully, the next update for this won't be another 4 months,heh ^^;


Tuesday, February 8, 2011

Tekkaman Blade Resin WIP - 1

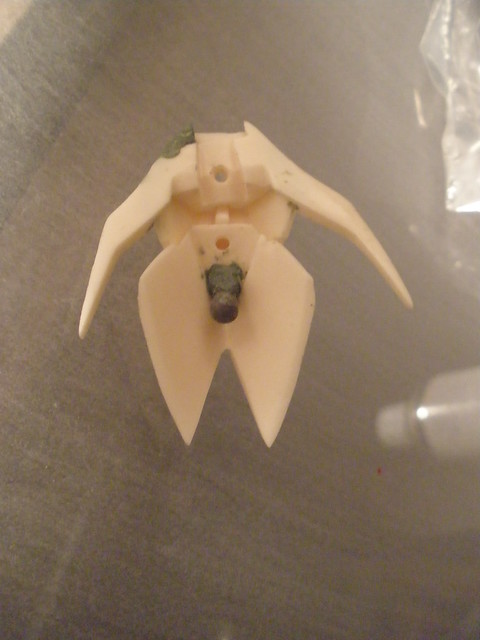
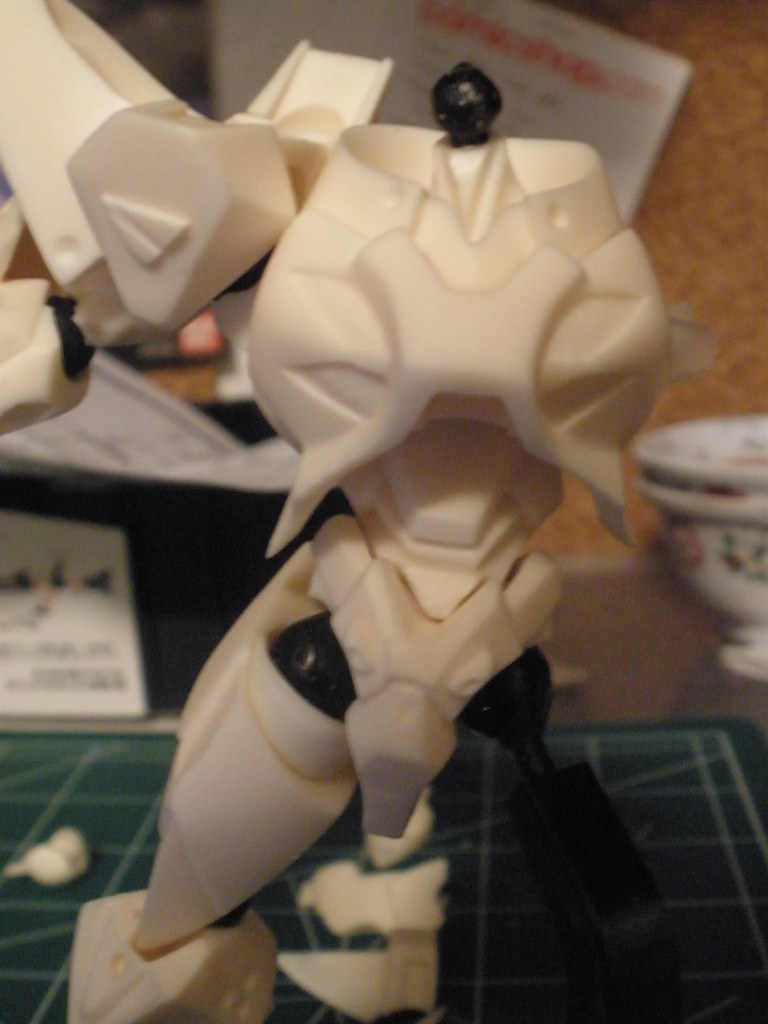
So I totally couldn't wait and started work on this on Monday. My poor keroberos revoltech had to sacrifice his joints so that blade could get jointed. Its alright though, this is just til the order of revoltech joints arrive via mail. Man, Hand drilling all those holes were a real pain. Since the original design called for basic ball joints and ball pegs, some pre-planning on how to make everything fit just right had to be done. Nice thing to be noted, is all the parts aren't just separated for detailing, but also for painting. All the red pieces are separate so when it was casted, it could've be done in color! There's a few places here and there needing putty so I'll have to pick up some green stuff at work tomorrow.

Aside from that, This has been a very rewarding build so far. I like the previous incarnations of Tekkaman Blade's figures and model kits, but most of them have all been following the more streamlined "suit" look from the first series. This design probably fits some of the designs from the end of the first series and the whole second series(OVA). It does what TF Classics did for the original G1 TF designs- it maintains the aesthetic charms and themes and adds to it. With wicked mecha style: long imposing proportions,harsh & sharp lines/angles, and intense details building on the basic look. The Armor plus figure is nice, but if this was a figure with that kinda price tag, I would've bought it without a second thought.

I'm slightly intimidated to paint this actually. I'm worried the paint job won't do this design justice. Still gonna try, but I am worried slightly. Unfortunately, I'm outta spare black revoltech joints so this will have to do til the package arrives. I even paid for EMS this time to get it here faster.Crazy, right?? Thats the AWESOME that is Tekkaman Blade. More WIP updates later!


Nothing Glued yet, but things are starting to come together already.

Head sculpt looks great. Lots of small pieces,too.
The iconic torso design. Putting this together made me think on how the joint placement and what to inprove on an actual revoltech tekkaman. If they're making revoltech Muv Luv and Z.O.E. , there's hope, right???
Look at the details! Frickin Awesome. The normal design is just basic panel lines.Bunk that, Raised cool sculpt FTW!
Mecha proportions indeed. Fit a human leg in that?Psssh...

Since I haven't started actually gluing parts since nothing's painted yet, some parts were just taped temporarily or placed carefully into position. Having some trouble with that breastplate, blade?
Had enough joints to pre-joint another arm. Looks like it'll have to rest on that stand til more parts come...


Its really starting to come together. I can't wait for it to get done. I'm so geekgasming over this. So cool.

Monday, February 7, 2011

OMFG- Tekkaman blade GETTTOOOO!!

So work was quite slow(ish) today, what with the superbowl and all. The best part of my day came in the form of an unexpected late christmas present, the Space Knight Tekkaman Blade - Full Action Resin Kit!! Sound Familar? It was on my Want List post I did a while back. This thing is hella sweet! Its my first real resin kit and I'm so excited, I wanna start working on it now. Too bad I'm in the middle of working on a backlog right now. Currently working on a simple build of the 1/144 new hguc gouf custom and I'm still working on the rg inner frame. I'll get there eventually. One kit at a time. Besides, I still need some paints and airbrush stuff. I wanna do this right. Its gonna totally be my masterpiece ^^;

Not alot of info out on the web for this guy so I guess I'll just help things along with this post and some pics. Check out the details below.

This thing just screams horribly awesome.

Tupperware. The Ultimate in Resin Protection.
Awful xerox copy looking instructions. Luckily, most resin kits don't really need em.
Plenty of pieces...
Details are ridiculously amazing.
This thing demands the best work I can give it!
heh-In yo face, B-club manipulators!


Followers